My boys’ elementary school has Multicultural week every year and parents come in and share stories, food, and crafts from their culture. Every year, I read N is for Navidad, which is an adorable ABC bilingual book about Las Posadas and then I make something. It’s usually food. I’ve made Mexican Wedding Cakes and bunuelos, where I fried tortillas and the kids sprinkled cinnamon and sugar. This year, my son’s 2nd grade teacher asked if someone could bring in a piñata for the kids to break. I figured anything would be easier than the Dia de los Muertos craft I did for their Halloween party so I volunteered to make a piñata with the kids. Piñatas are traditionally broken at the end of each day during Las Posadas, a 9-day party that re-enacts Mary and Joseph’s search for shelter to have the baby Jesus.
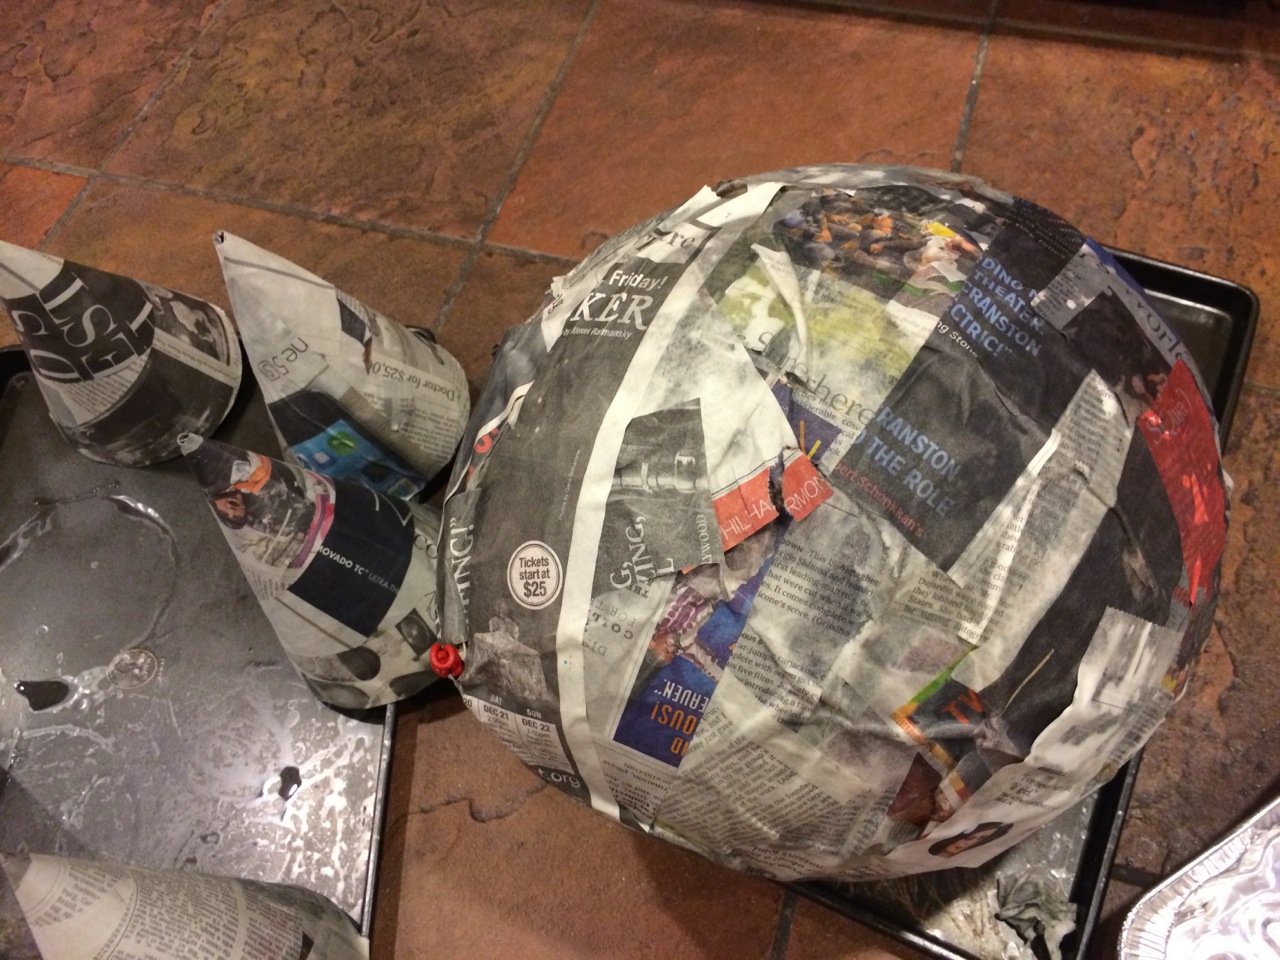
Making a paper mache piñata takes planning and is a little time consuming, but it’s not a difficult craft. First, I bought Sta-Flo Liquid Starch from Smart and Final, a balloon, party hats, and tissue paper. I blew up the balloon and cut up newspaper strips that were 2 inches wide. I placed the balloon and party hats on a cookie sheet and got started.

I dipped a paper strip into the starch*, used two fingers to squeegee out the excess starch, and then smoothed it on the balloon until the balloon was fully covered. I did this 5 more times making sure it wasn’t too wet. Then I did two coats of paper mache on the party hats, which didn’t need as much because they won’t be filled with candy. I let it all dry for 24 hours. After 24 hours, I did three more coats of paper mache and let it dry for a day.
I cut a hole in the top where the balloon was knotted and took it to school with the party hats, paper plates, and tissue paper that I had cut into 2 inch(ish) squares.
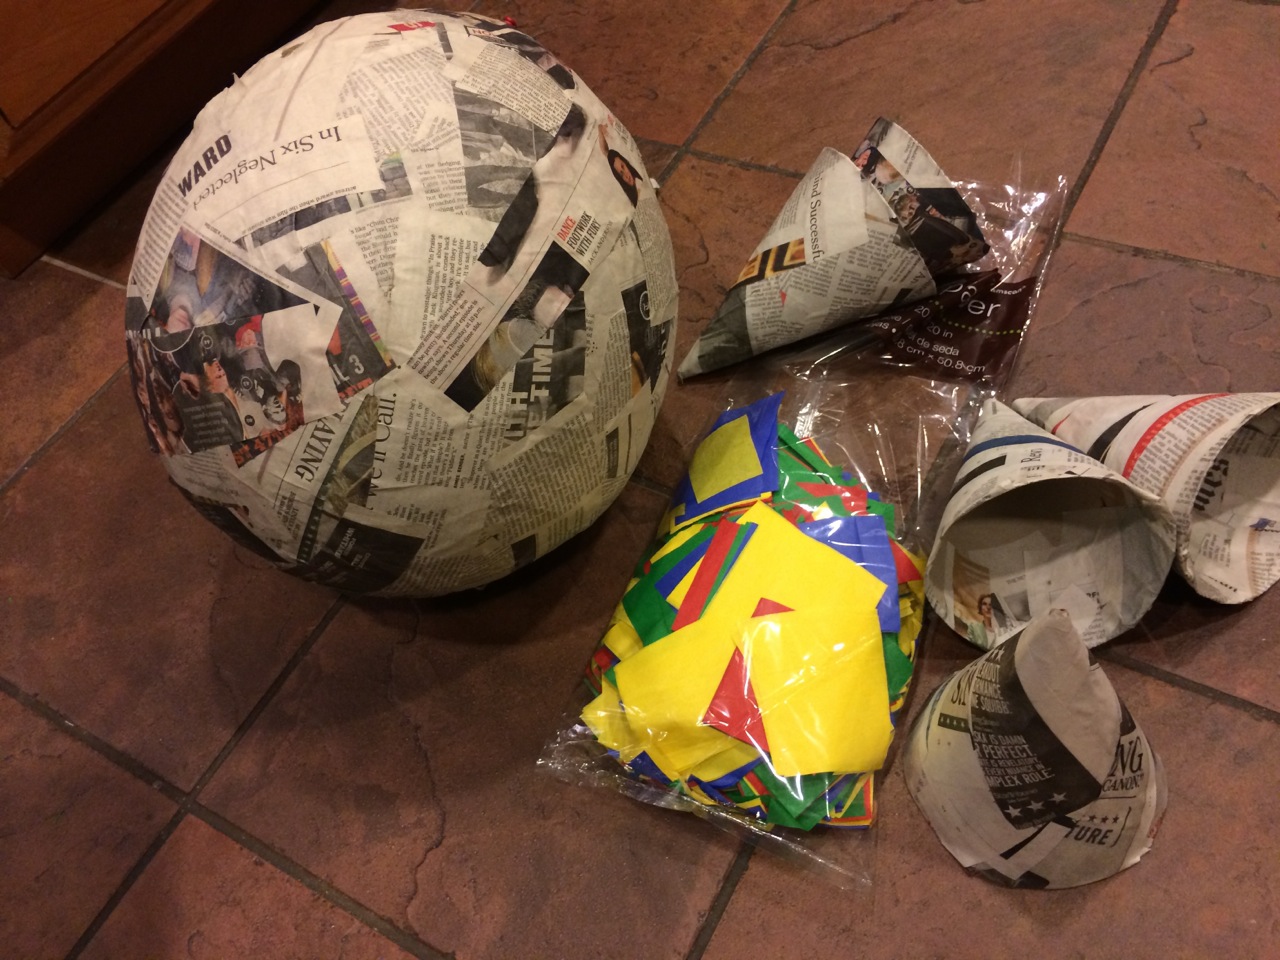
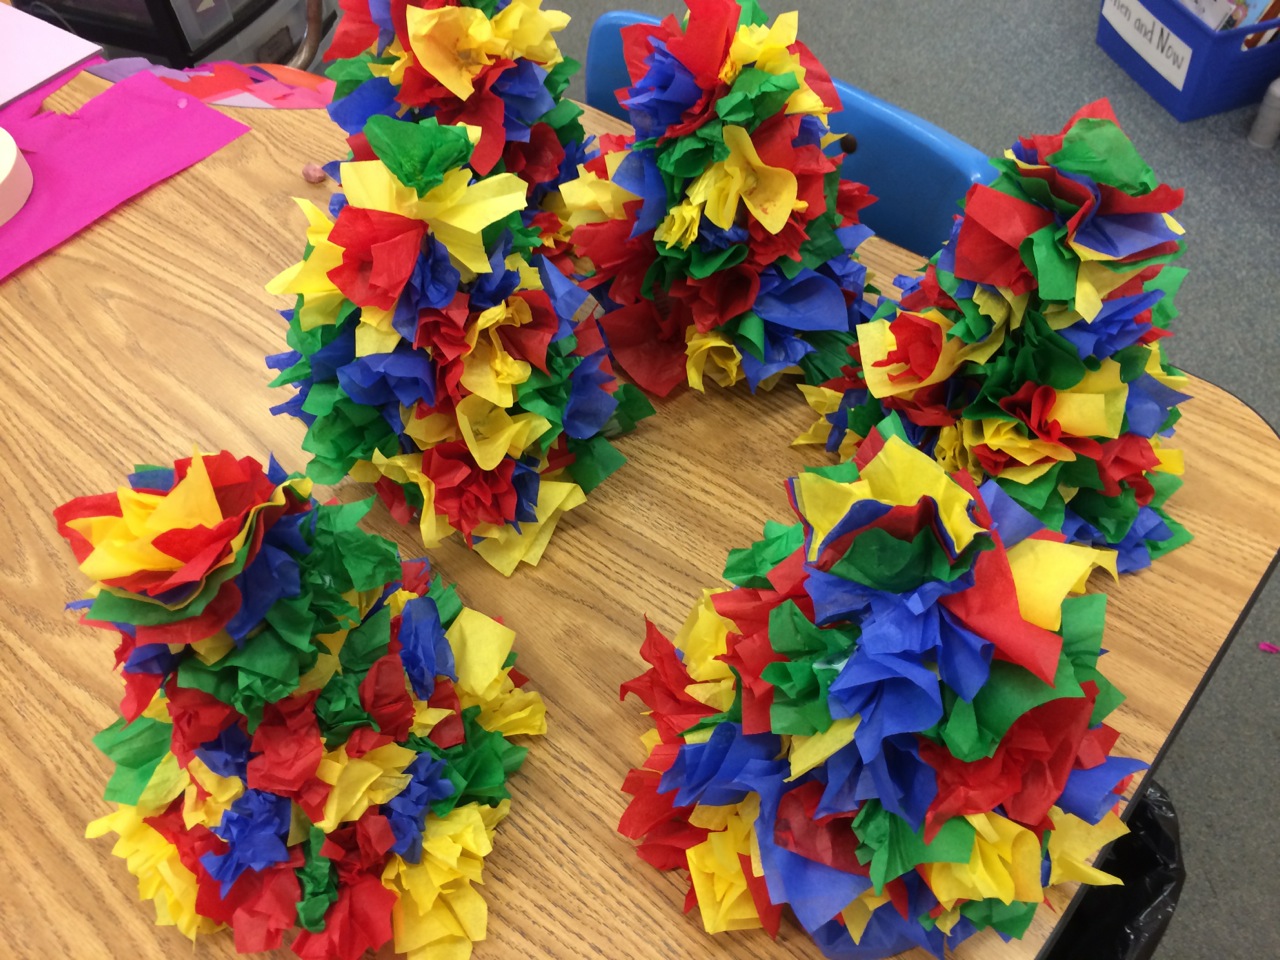
The kids were split up into groups and about 8 kids at a time decorated the piñata and the cones. We put out small paper plates with glue and the tissue paper squares.
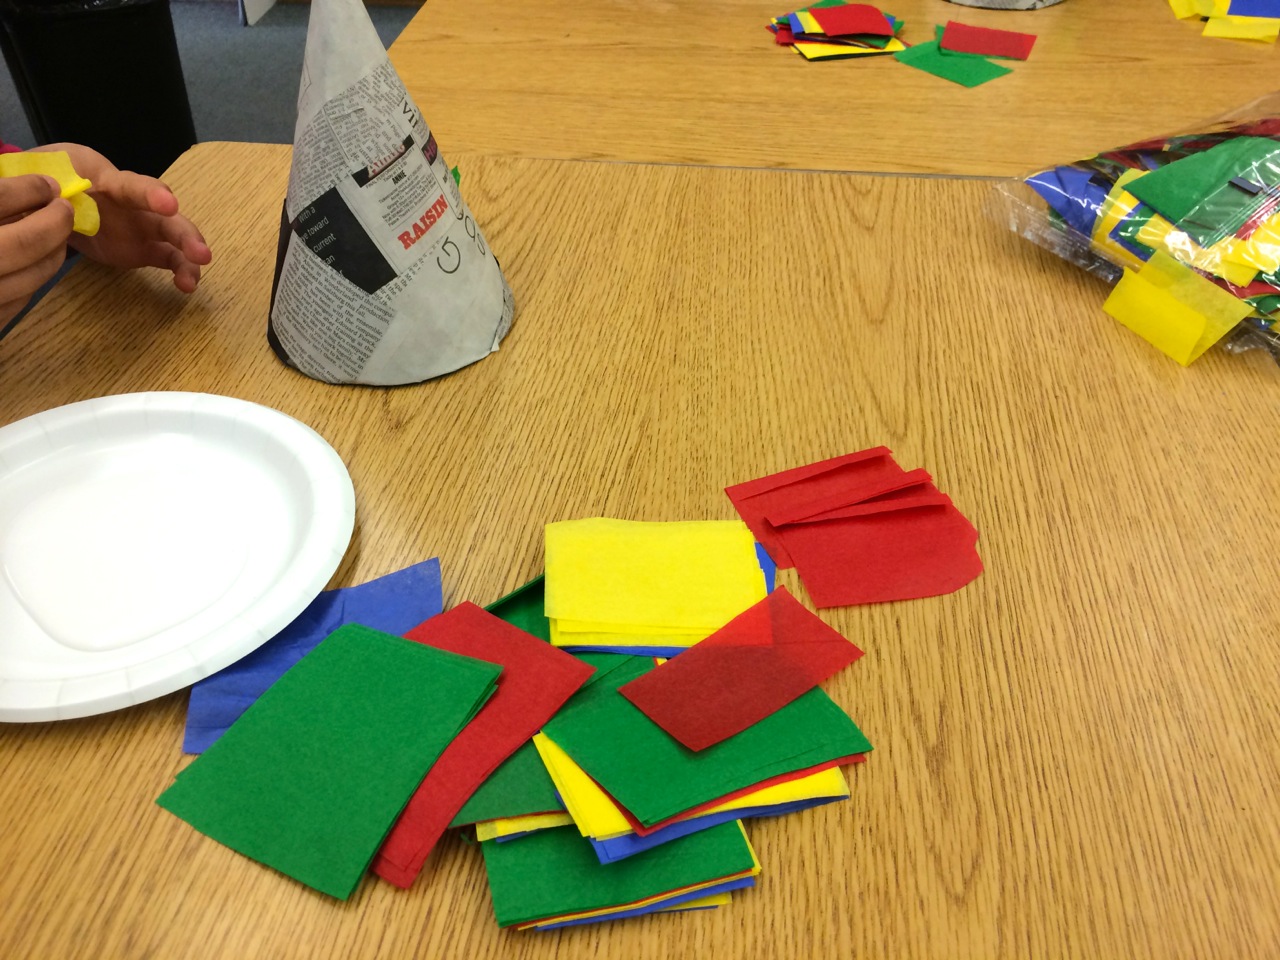
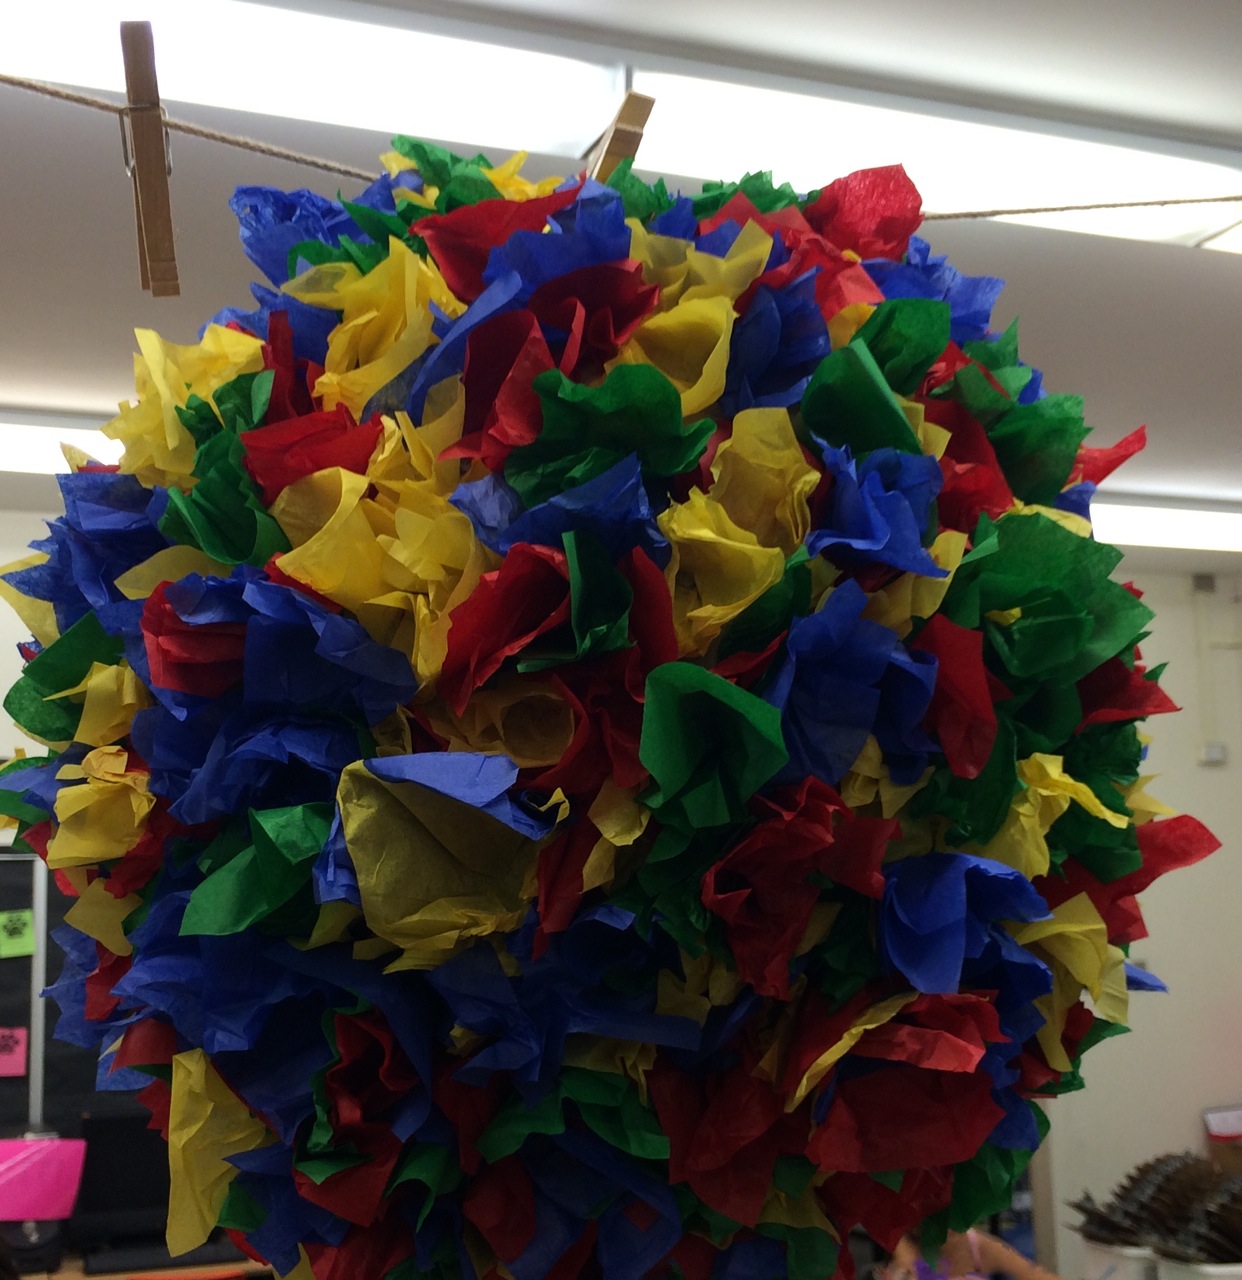
The kids took a piece of tissue paper, put their finger in the middle of the paper, wrapped it around their finger, dipped it in the glue, and stuck it to the balloon or cones until they were all covered.
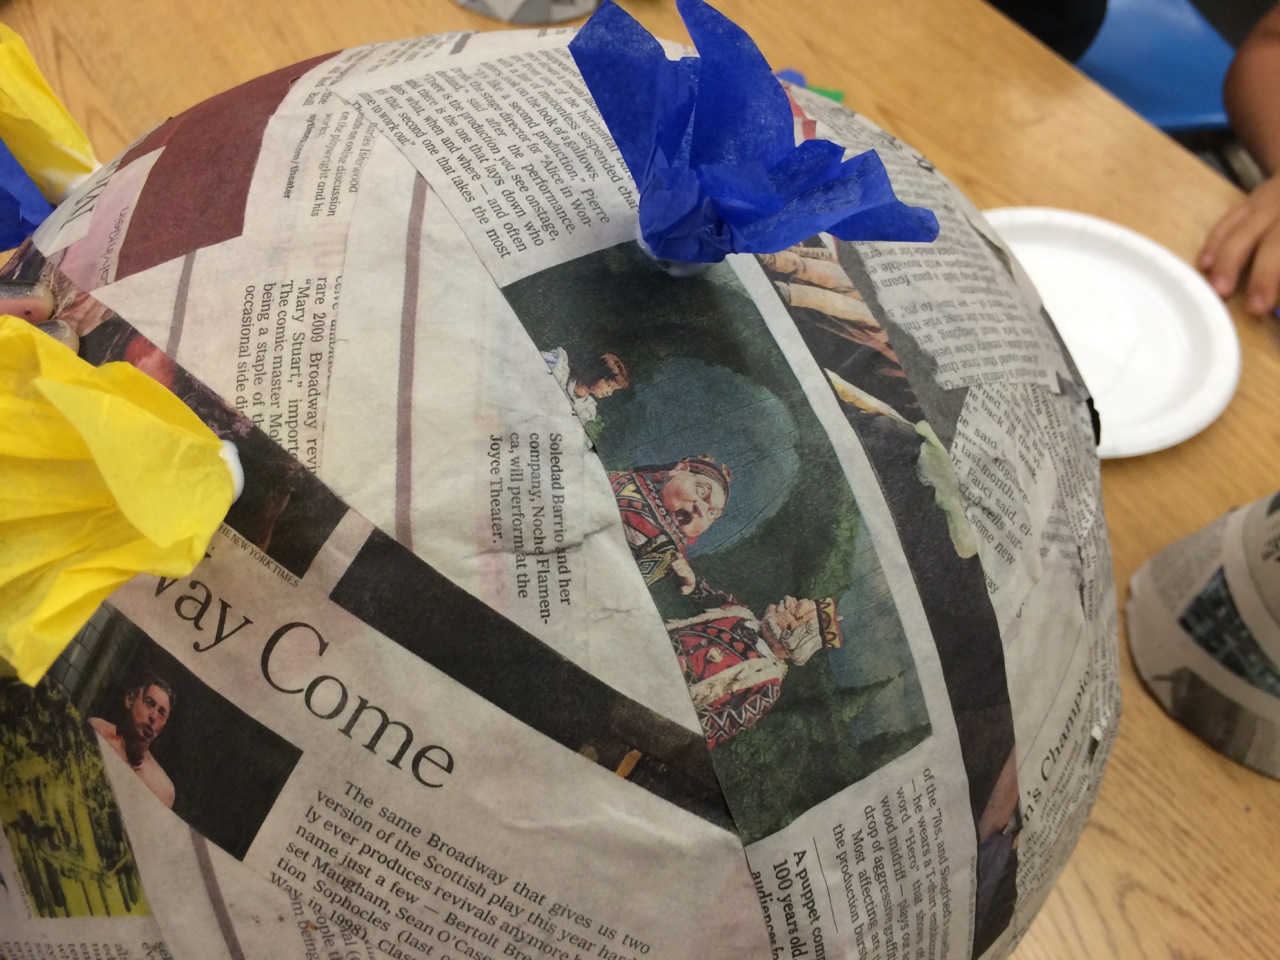
The kids had a great time and did an excellent job.
I came back the next day when all of the glue was dry to attach the cones with a hot glue gun. At first it looked like a chicken, but eventually looked like a star.
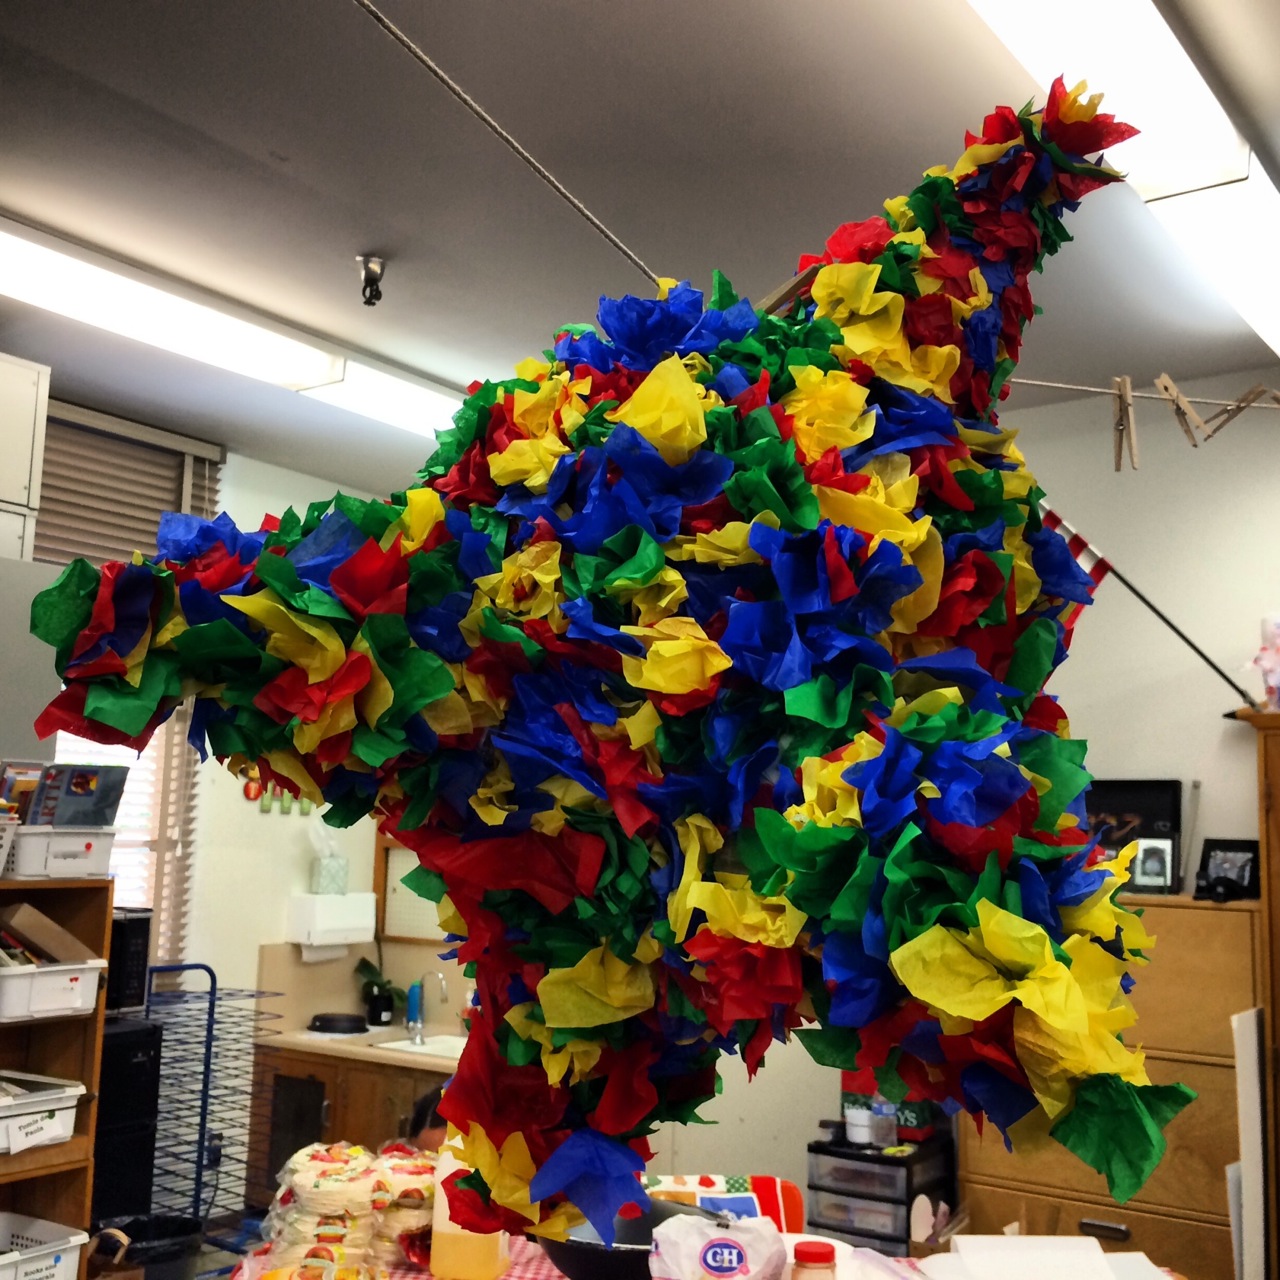 We’re going to use a bent hanger to hang it up and use it as a centerpiece for the kids’ class party (and buy one to break). If you want to stuff yours with candy, cut a hole in the top and stuff away.
I’ve been talking about this a lot lately, but my kids are getting older and I’m really loving doing crafts and cooking with them as long as they will let me. The piñata craft was a really fun one.
*Some recipes called for flour, but I just used starch and it worked well.